
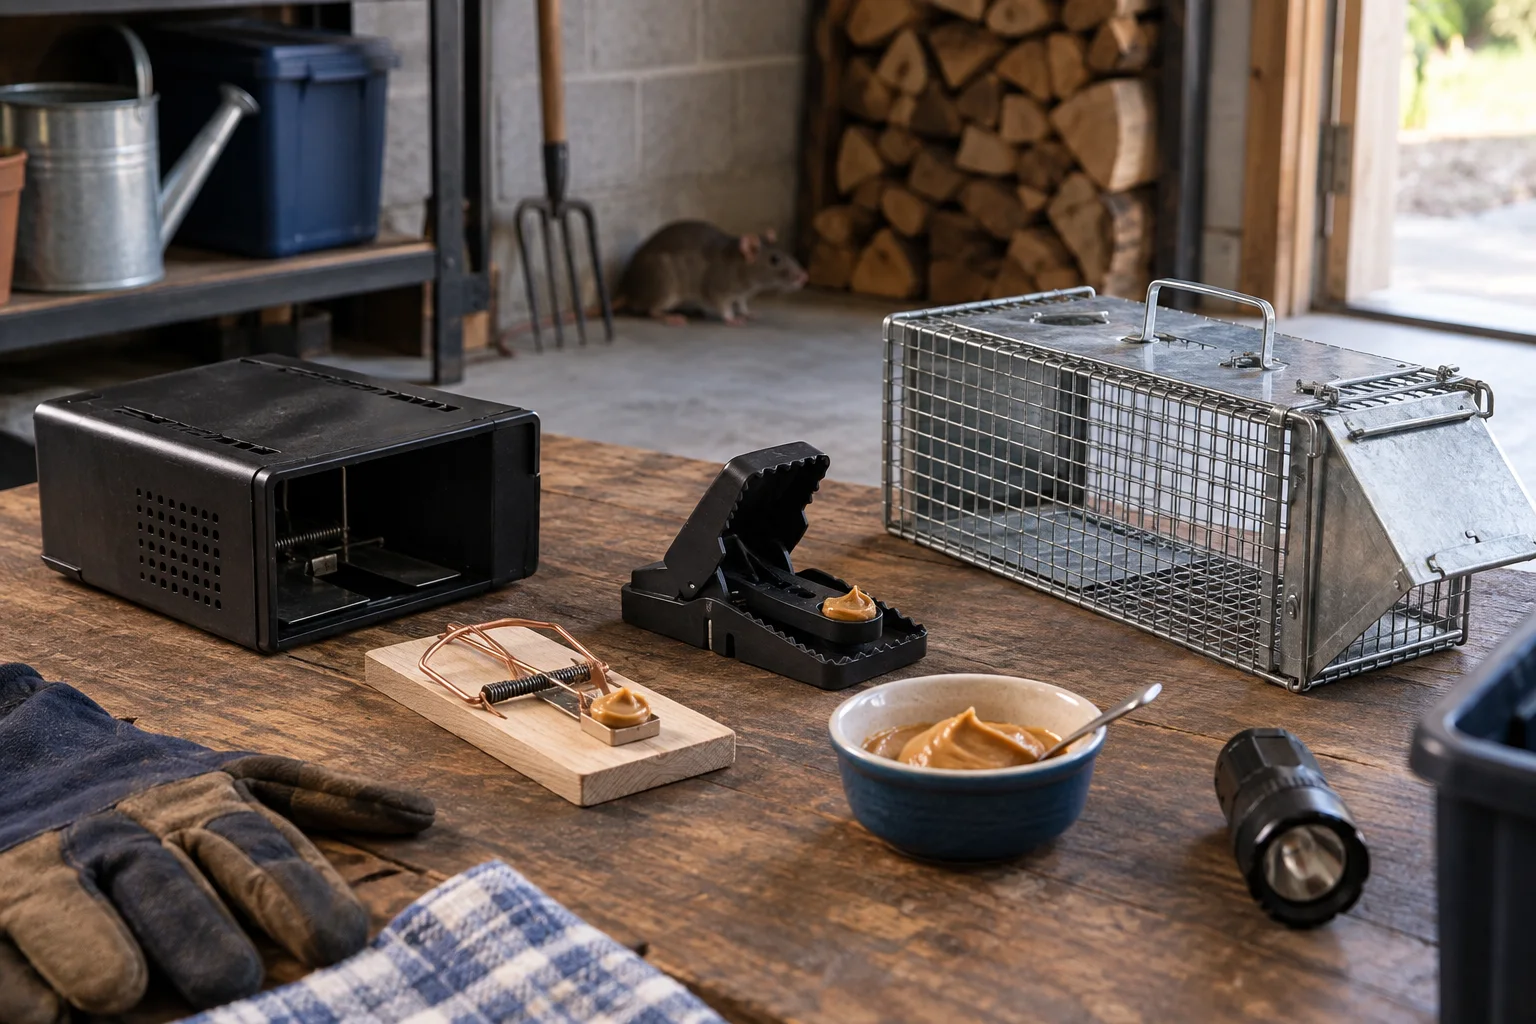
AI-generated illustration
Begin with inspection tools
The first equipment for rat trapping is not a trap. It is a way to inspect safely and document what you find: a flashlight, phone or camera, gloves for appropriate cleanup, a notepad or digital log, and a way to mark locations. These help you distinguish an active route from an old sign. Check protected edges, behind appliances, under sinks, around stored food, and outside at vents, foundations, doors, and utility entries before buying a collection of products.
Use a simple map of the property or room. Mark droppings, gnawing, rub marks, food damage, suspected entry gaps, and trap locations. This keeps equipment from drifting into random placement. Do not use your hands to explore inaccessible voids or climb onto a roof just to find a route. For high, enclosed, electrical, or structurally questionable areas, the needed equipment may be professional inspection tools rather than more homeowner gear.
Choose the correct trap and protection
Use a trap designed for rats, not a tiny mouse trap that may not activate or hold the animal properly. CDC states that rats and mice require different snap traps and recommends reading the manufacturer’s instructions before setting one. A rat-trap setup also needs a protective location or station where children, pets, and non-target animals cannot touch it. The safety of the trap location matters as much as the brand or trigger style.
Have enough traps to cover the documented travel route, not just one trap in a visible spot. UC IPM notes that placement often matters more than the trap type. For ground travel, that may mean protected wall edges and corners; for roof-rat activity, it may include secured elevated routes where evidence appears. Never set a trap where it can fall, where someone may step on it, or where it blocks a door or access path.
Keep bait small and attached
Bait should be a small attractant, not a meal. CDC describes using a small amount of bait on the trap’s bait pan, while UC IPM suggests securing dry bait lightly to the trigger if needed. A small amount helps ensure the rat must interact with the trap rather than feeding around it. Choose a bait that makes sense for the available food source, and remove or secure the larger food supply that competes with it.
Avoid loose piles of food, open poison, or bait scattered on floors. Loose material makes it difficult to know what visited, creates exposure risks, and does not give a clear trapping result. If rats are cautious, an unset, baited trap can be used briefly for prebaiting before it is set. Keep notes on which bait was taken and where. This turns bait from a guess into evidence about whether the route is active.
Prepare cleanup supplies before a capture
Every trapping setup needs cleanup supplies before the first trap is set. CDC advises gloves, disinfectant, paper towels, and plastic bags for handling captured rodents and associated material. Keeping these supplies together means a captured rat can be handled calmly and safely instead of left in a trap while someone searches for a bag. Include a way to wash hands after the work and a covered garbage container that is regularly emptied.
Do not dry sweep or vacuum droppings near a capture. CDC recommends wetting rodent material with disinfectant and allowing the stated contact time before removal. If you plan to reuse a traditional snap trap, have a safe cleaning process ready. Equipment does not have to be elaborate, but it should support the entire task: identify the route, set protected traps, check them regularly, remove captures safely, and document whether fresh evidence continues.
Add repair materials to the plan
Trapping without exclusion often produces repeat work. Assemble or plan for materials that match the actual openings you documented: appropriate metal mesh, sheet metal, cement, hardware cloth, caulk for small supported gaps, and fasteners suited to the building feature. CDC lists metal, cement, hardware cloth, and metal sheeting among repair choices for larger openings. Do not choose a filler simply because it is easy to push into a hole; rats can damage weak or poorly attached materials.
Some repairs need specialized equipment and expertise. Vents, chimneys, roof penetrations, combustion-air openings, electrical lines, plumbing, and structural cracks are not general-purpose patch points. Ask a qualified professional to handle details that affect building safety or code compliance. The useful equipment list is therefore modest but complete: inspection tools, correctly sized protected traps, small bait, cleanup supplies, and a practical route to durable repair.
Use a checking routine, not more gear
Set a schedule to inspect traps and document bait condition, captures, and fresh signs. Keep the supplies together in a closed kit that is away from children and pets. A small routine prevents a trap from being forgotten and helps distinguish a real change in activity from an empty bait pan. Replace damaged equipment rather than trying to improvise a trigger or repair with unsafe parts.
At the end of the job, clean reusable equipment as directed, discard contaminated disposable materials, and store the remaining supplies for a future inspection. The most useful equipment is often the simplest: a camera, light, gloves, protected rat-sized traps, cleanup materials, and the repair components needed for a confirmed opening. Buy more only when the evidence points to a real need.