
AI-generated illustration
Do not improvise a dangerous device
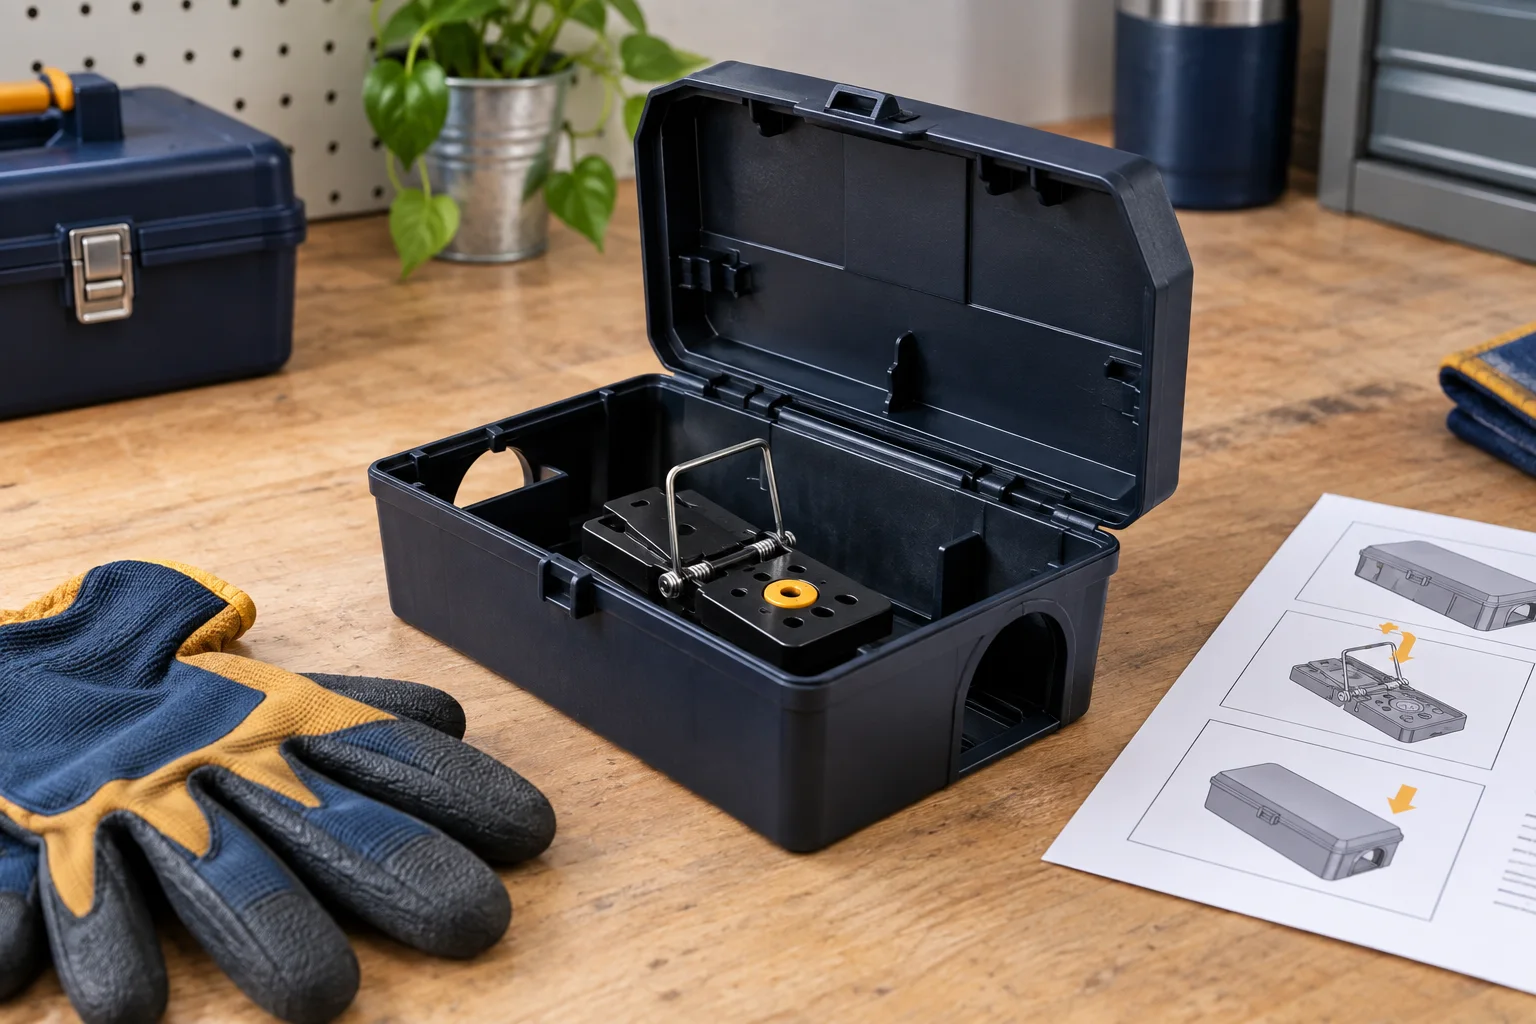
Searching for how to make a rat trap often brings up improvised buckets, wires, chemicals, and devices that can injure a person, pet, or non-target animal without reliably controlling a rat problem. The safer interpretation is how to make a rat-trapping setup work. Start with a commercially made rat-sized snap trap from a reputable source, used according to its instructions. It has a known trigger mechanism and can be placed in a protective enclosure or location.
CDC recommends traditional snap traps and advises against glue traps and live traps. A snap trap is not a complete solution by itself, but it offers a clear, checkable result when it is properly placed. Avoid modifying springs, making improvised blades, or constructing electrical devices. Those methods add injury and fire risks while making the outcome harder to control. Choose a purpose-built device and put effort into inspection and placement.
Confirm that a rat is the target
A trap cannot compensate for an incorrect diagnosis. Rats are larger than house mice, but young rats can be confused with mice. Look for several signs: animal size on camera, droppings, larger gnaw marks, burrows, food damage, and the locations of routes. UC IPM notes that Norway rats are generally stockier and associated with burrows and lower areas, while roof rats are agile climbers that may use upper routes.
Use a rat trap for confirmed or strongly suspected rat activity, not a mouse trap or a random device placed because of one sound. If evidence is uncertain, monitor first or obtain an inspection. This reduces unnecessary captures of non-target animals and gives you a better chance of placing the device along a path the animal actually uses.
Find the travel route
Rats tend to learn and reuse routes between shelter, food, and water. Inspect near walls, behind stored items, along garage edges, near food damage, and around the opening that connects to the building. Outdoors, look for burrows, sheltered travel edges, and conditions such as refuse or clutter that support activity. Do not place traps in the middle of an open room simply because that feels central; an animal may avoid the device entirely.
Set the trap on a stable surface where it cannot slide or be knocked over. Follow the manufacturer's orientation guidance and keep it close to the route indicated by signs. If you are using an enclosure, make sure the enclosure is designed to protect children, pets, and non-target animals while allowing the target rat to enter. Inspect the setup after placement so the trap remains accessible for checks but inaccessible to curious hands and animals.
Use bait as a detail, not a substitute for placement
A small amount of a food item already associated with the activity can help, but abundant nearby food can make bait less attractive. Secure garbage, pet food, feed, seed, and pantry goods before expecting a trap to compete with them. Do not overfill a trigger with food or place loose bait where it can attract children, pets, or wildlife. The goal is to make the animal interact with the intended trigger, not to create another feeding station.
Rats can be wary of unfamiliar objects and foods. If a rat avoids a new trap, reassess the setting and placement rather than repeatedly changing to more hazardous devices. A provider may use a monitored pre-baiting approach where appropriate, but the surrounding food source and entry route still need attention. A trap works best in a property that gives the animal fewer alternative rewards.
Check, remove, and reset responsibly
Check traps frequently. A captured animal should not be left in an occupied space, and an empty trap should not be forgotten where it can harm a pet or child. Follow local waste guidance for disposal. Use disposable gloves for handling a trap or carcass, avoid direct contact, and wash hands after removing gloves. If there is extensive contamination, follow CDC cleanup guidance rather than dry sweeping or vacuuming material around the capture.
Record the date, location, and result of each check. A capture proves that at least one animal used the route; it does not prove that the entry point is sealed or that no others remain. No capture can mean the animal is gone, the placement is wrong, the device is inaccessible, or the diagnosis was incorrect. The log gives a reasoned basis for changing the plan.
Finish the job with exclusion and monitoring
Once activity is being removed, inspect and repair the route that allowed it. Seal openings with durable building-appropriate materials, but do not block required vents, drains, or utilities. Coordinate the timing so you do not strand an animal in a wall or attic. Food management, exterior maintenance, and repair are what keep a successful capture from becoming a short pause in recurring activity.
If the work involves a high ladder, a contaminated attic, damaged wiring, an inaccessible void, many rats, or a shared building, use a qualified professional. Ask for a written plan showing device locations, suspected entries, repair scope, and follow-up. Making a rat trap work safely means making it one monitored component of a complete control plan, not a homemade test of force or ingenuity. After the last confirmed activity, remove devices only when follow-up supports that decision, and store unused traps where children and pets cannot access them. Continued exterior maintenance matters because a new garbage problem, damaged screen, or loose sweep can create another route even after a well-placed trap succeeded.